Both shots are GW, Blue Moon, LAM, Westwind, Foundry, Old Glory.
Sadly all the base heights aren't quite the same height but you probably get the idea.


A blog about tabletop gaming, boardgame design ... and with pictures, and 3D printing.
 |
| The latest. |
 |
| The lot. |
 |
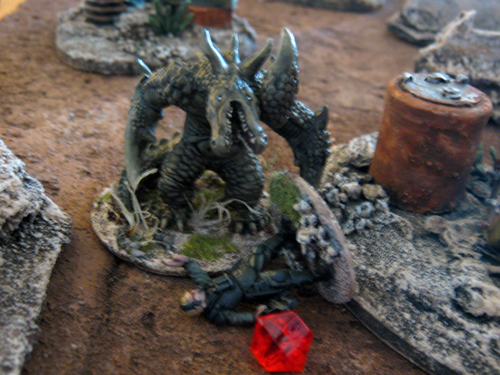
| Wee Aggro's team with their Croc Mutant. The Croc Mutant turned out to be my greatest undoing. |
 |
| My team, who was better armed and supposed to be generally better at shooting. A lot of good it did them. |
 |
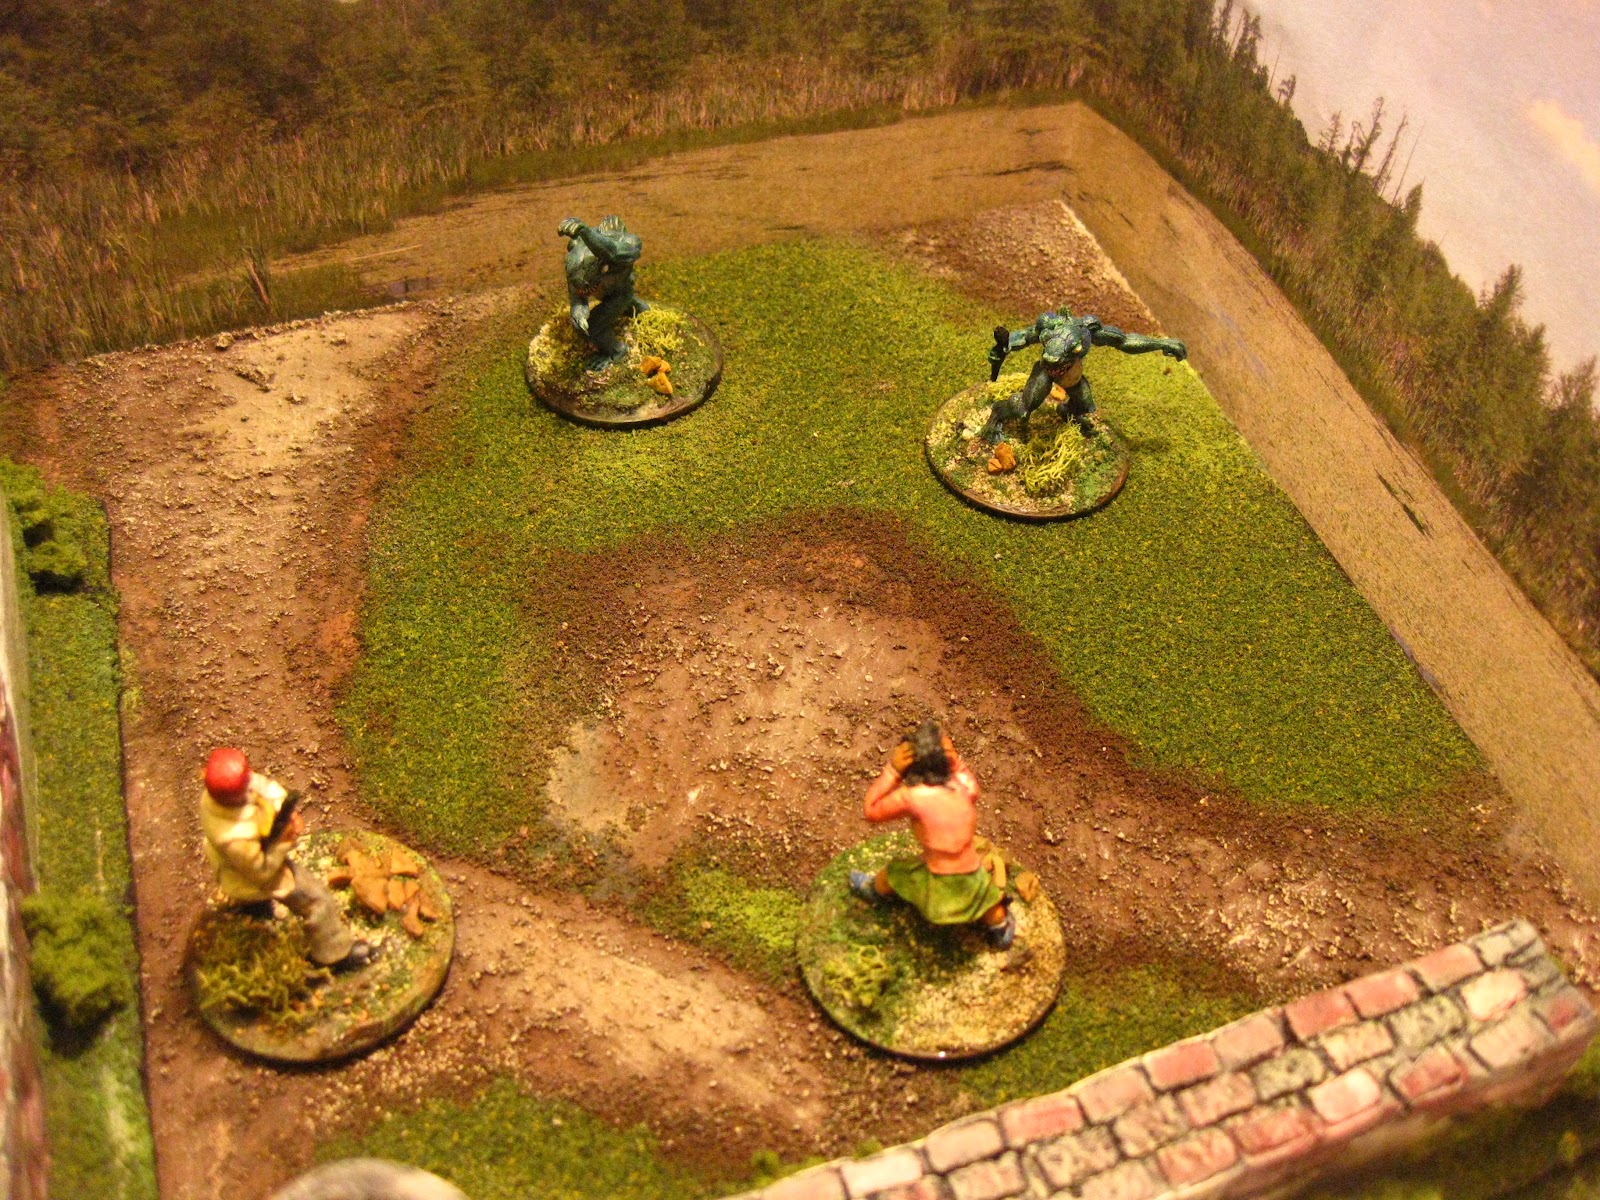
| The board overview at the start of the game. The top shows Wee Aggro's deployment, the bottom was my side. VP's were awarded for kills, forcing your opponet to bottle out and collecting objectives (the white star markers). |
 |
| Some of Wee Aggro's troops at the start of the game. |
 |
| Some of my team at deployment. At first things were looking really good for me. The fellow with the machine gun (in the background) managed to kill Wee Aggro's raider armed with a flame thrower very quickly. |
 |
| Wee Aggro's dead Raider. |
 |
| Another of Wee Aggro's raiders rushed too far forward and collected an objective fairly quickly. He was subsequently cut down by my Leader. |
 |
| My Leader gloating over his well aimed shots. |
 |
| Another view of the action at the center of the board. It was all down hill for me after this. |
 |
| These two eagle eyes quickly cut down my machine gunner and one of his teammates. Revenge for the death of their two brothers obviously. |
 |
| The machine gunner and his buddy. The first of my forces to fall, but definitely not the last. |
 |
| Another view of the action. At this point we had both had made two kills. Wee Aggro had collected one objective token so he had the lead. |
 |
| This became a frequent sight. The croc mutant rushed forward up the other side of the board and started chomping on my forces. |
 |
| The croc mutant used its bonus action (after successfully killing the first of many of my troops) to hide behind a ruin on my side of the board. I mistakenly thought I had it cornered. |
 |
| Meanwhile towards the center of the board one of my models was trying to position himself to start collecting some objectives. He started taking heavy fire though and was wounded. By this time in the game Wee Aggro had collected two objective tokens and I hadn't collected any. |
 |
| With my right side of the board wiped clean, Wee Aggro started moving his forces towards the center of the board. |
 |
| Soon after this photos was taken, my Leader popped around the corner and blasted the raider with the top hat. |
 |
| The Leader gloats again. |
 |
| The first of many of my teammates that hit, but failed to wound the croc mutant. There was some abysmal rolling done on my part. |
 |
| Angered by all this, the croc mutant responded by eating the poor fellow. |
 |
| This fellow was still taking a lot of fire, at the center of the board, but managed to hold out. |
 |
| The bodies started piling up around the croc mutant. |
 |
| This fellow was one of my biggest mistakes. He had by far the best weapon out of anyone on the board (a heavy machine gun). I held him back too much and he ended up being extremely ineffective. |
 |
| Meanwhile, the croc mutant was getting closer and closer to my heavy machine gunner and my leader. Then even greater tragedy for me. At the start of the third round, Wee Aggro rolled as well as he possibly could for his tactics roll, and I completely failed with mine. |
 |
| Seizing the tactical advantage, Wee Aggro charged his croc mutant ahead and killed my leader and my heavy machine gunner! A total of four kills for the croc mutant at the end of the game. |
 |
| My one saving grace. I managed to push my wounded trooper with a delay token and combined actions and collect two objective markers of my own. |
 |
| At this point however, he was wounded, tired. surrounded and my last model on the board. Subsequently he failed his bottle test at the end of turn three. Final score: 2 VP's for Wee Aggro and 0 VP's for me. |


 |
| Turn 1: Begin. Deep Ones have the Initiative. |
 |
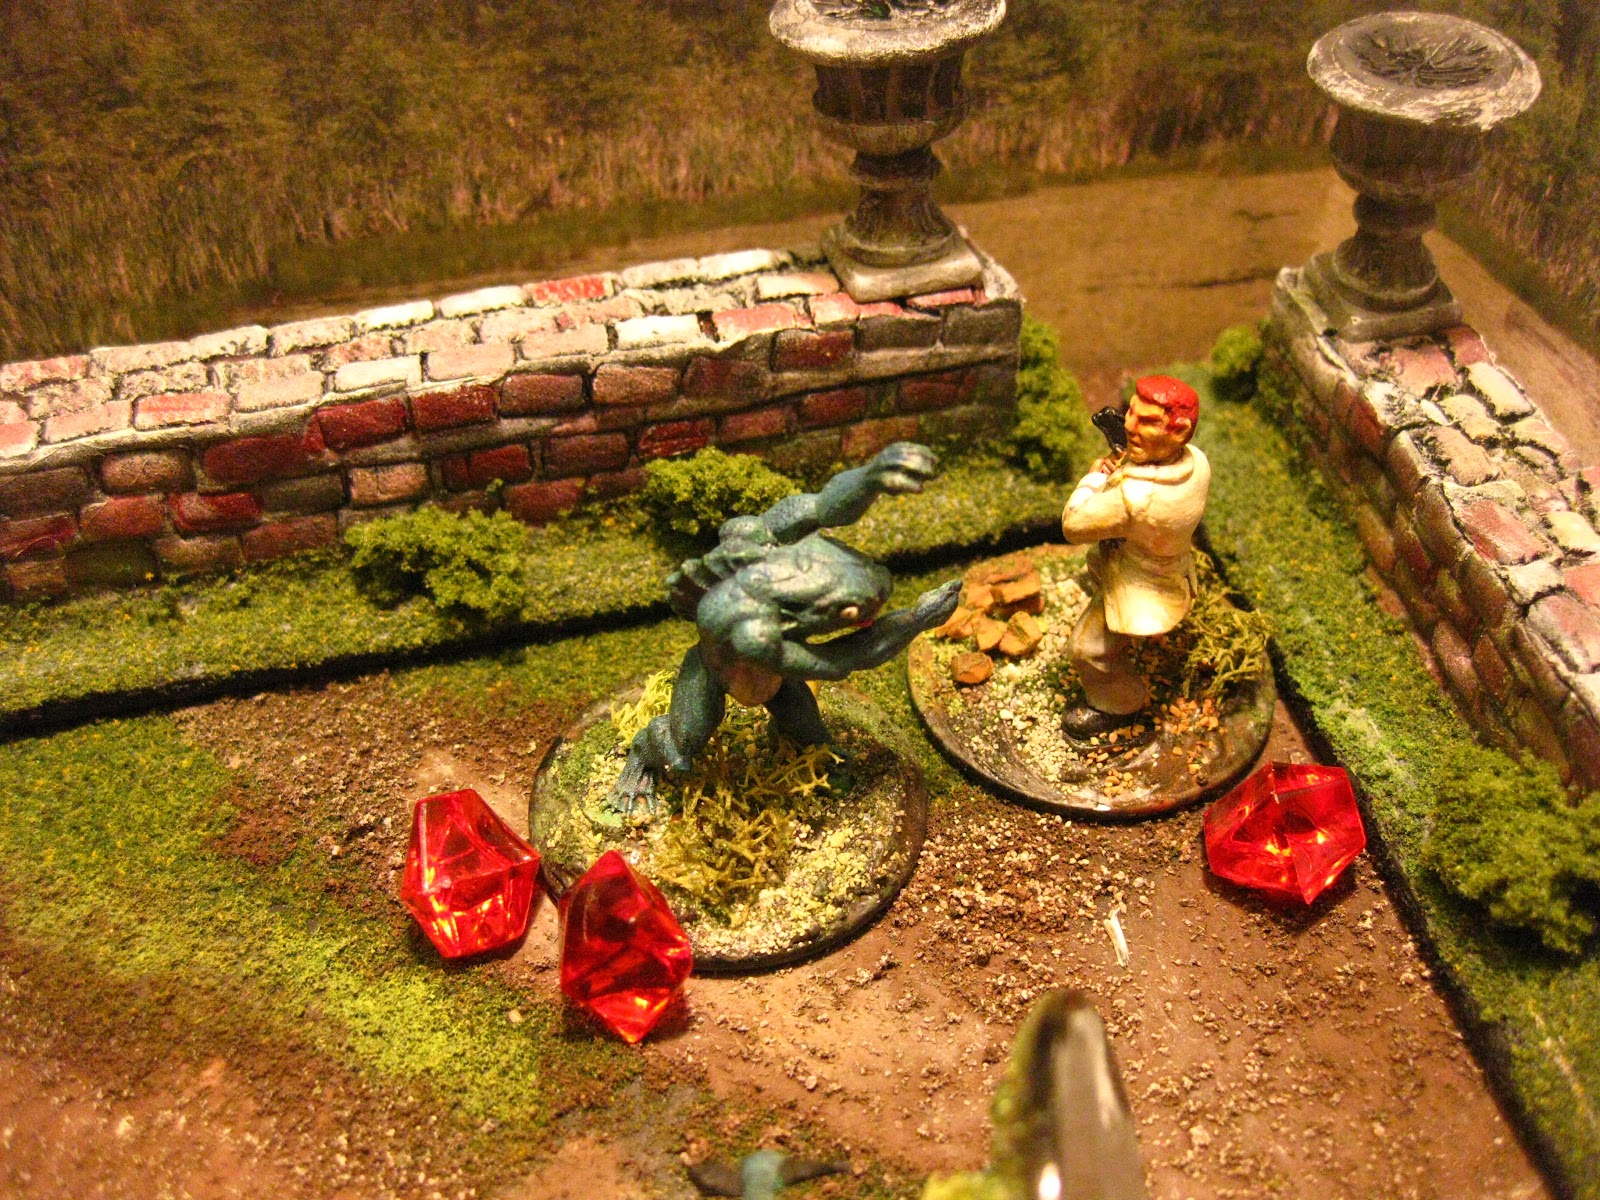
| Fish-eater Charges in and gets free Close Combat Attack. Also receives bonus for cornering target. This will be a Concentrated attack. |
 |
| Fish-eater scores just a single Wound against the Agent and is done. Foolishly, did not use a Bonus Action and so maintains position. Agent passes Morale Test; therefore no Fear tokens assigned. |
 |
| Agent performs a Concentrated Attack with Pistol in Close Combat Hit Test (it has Melee trait) and succeeds! It uses the Bonus Action "Disengage" and moves back. |
 |
| Agent scores a Wound against the Deep One for the Damage Test and is done. Characters are typically allowed at most a single Bonus Action for each AP. |
 |
| The second Deep One Charges the Mystic and receives a free Close Combat Action with the charge bonuses. Note the position of the Deep One will not provide the Cornered bonus against the Mystic. |
 |
| The Deep One uses the Bonus Action "Push" to move the Mystic towards the Agent. During its Damage Test no Wounds were scored against the Mystic. |
 |
| Now it's the Mystic's activation and it does a Mind Blast which takes 2 AP. For the Hit Test it succeeds and uses the Bonus Action "Reversal" to switch positions with the Deep One. The Mystic fails to score any Wounds for the Damage Test. |
 |
| Turn 2: The Investigators have the Initiative. |
 |
| The Agent opens fire with a Concentrated Attack with full ROF. It is of course penalized -1 Modifier die for being Wounded. The Fish-eater is KO'd. Player opts to not use a Bonus Action here because the Agent is in the ideal position to set up a Flanking penalty against the Deep One. |
 |
| The remaining Deep One's activation. Another Concentrated Attack that succeeds! Deep One employs the Bonus Action "Reversal" as well and gets out of the potential Flanking situation. Damage Test comes next ... |
 |
| The Deep One succeeds in causing a Wound against the Mystic. For the Morale Test, the Mystic fails by 1 and so receives a single Fear token. |
 |
| On the Mystic's activation, the player decides to give his Agent character a clear LOS to the Deep One so that the Friendly Fire rules won't take effect. Mystic is Done for the Turn. |
 |
| Turn 3: Things look grim for the Investigators. The Deep One player receives the Initiative. |
 |
| Surprise! The Deep One player goes after the Mystic! |
 |
| Needless to say; the picture says it all. |
 |
| The Deep One utilizes the Bonus Action "Reposition" after scoring a KO on the Mystic to move into base-contact with the Agent. This provides the Cornered penalty against the Agent when it activates. Combined with the Agent's Wound token it will be penalized 2 Modifier dice. |
 |
| However, upon activating, the Agent player succeeds in its Hit Test even with those penalty dice! It uses the Bonus Action "Reversal" to once again switch positions with the Deep One. As can be seen; these Bonus Actions certainly make the play-field very dynamic. |
 |
| The Agent scores 2 Wounds against the Deep One during the Damage Test and is done for the Round. |
 |
| Turn 4: A duel to the death! The Deep One player again receives the Initiative. It is Cornered and will be penalized. No penalty dice are received for being Wounded as both characters have Wound tokens. |
 |
| The Deep One succeeds in the Hit Test and uses the ever popular Bonus Action "Reversal"; the Agent is again put into the corner next to the wall. |
 |
| For the Damage Test, the Deep One scores an additional Wound upon the Agent character. Time for a Morale Test! |
 |
| Agent fails the Morale Test by 2 misses and so it receives 2 Fear tokens. This makes the Agent become disordered and it must immediately perform a Disengage action and move away from its opponent. |
 |
| The Agent succeeds in passing the test for the Disengage action and moves off the board. The Deep Ones win! |